|
Transkrestale Elevationstechnik (in Fällen von wenige als 3mm Restknochen)
Dieses Video zeigt die Vorgehensweise der transkrestalen Elevationstechnik, bei weniger als 3mm Restknochen. |
|---|---|
|
Zweizeitige Platzierung eines 5,0 x 6,0 mm großen Bicon SHORT®-Implantats mit einem internen Sinuslift-Verfahren unter Verwendung einer Schablonen geführten Operation für einen rechten Oberkiefermolaren und dessen Restauration mit einer integrierten Abutment-Krone ™
In diesem Fallstudienvideo wird die zweizeitige Platzierung eines 5,0 x 6,0 mm Bicon SHORT®-Implantats mit einem internen Sinuslift unter Verwendung einer „guided surgery“ für einen rechten Oberkiefermolaren und dessen Wiederherstellung mit einer „Integrated Abutment Crown ™ (IAC)“ demonstriert. Die Platzierung der geführten Operation wurde für ein 5,0 x 5,0 mm kurzes Implantat konzipiert, um das Risiko einer Sinusperforation zu minimieren und die Platzierung des 5,0 x 6,0 mm Bicon SHORT®-Implantats mit einem internen Sinuslifting zu beschleunigen. Die Osteotomie wurde dann unter Verwendung der „guided surgery Reamer“ den 5,0 mm-Guidet Ring vertieft, bis die Länge der beabsichtigten Osteotomie und Sinuselevation für das 6,0 mm-Implantat erreicht war. Darüber hinaus werden Follow-up-Bilder nach einer Woche, neun Monaten und fünf Jahren bereitgestellt. |
|
Zweistufige Platzierung eines 4,0 x 8,0 mm maxillary Frontzahn Implantats und dessen Restauration mit integrierter Abutmentkrone™ (IAC)
Dieses Fallstudien- und Technikvideo zeigt die Fallplanung, Osteotomievorbereitung und Platzierung eines 4,0 x 8,0 mm Implantats mit einem 2,5 mm Schacht in einer Kieferhöhle mit einer Kollagenmembran und SynthoGraft™ Knochentransplantationsverfahren. Nach vier Monaten Einheilung werden die Freilegung, der Abdruck auf Implantatebene und die Restauration mit einer integrierten Abutmentkrone™ (IAC) gezeigt. Zusätzlich wird die Modifikation des angrenzenden 15 Jahre alten seitlichen Schneidezahns mit einer IAC zur Verbesserung der Zahnfleischästhetik demonstriert. |

|
Prefabricated Retentive Copings for Telescopic TRINIA™ Restorations
This video demonstrates the fabrication of telescopic TRINIA™ prostheses using cemented prefabricated retentive and non-retentive titanium copings on Bicon Universal Abutments, the fabrication of light-cured resin jigs used for the orientation and insertion of the abutments, and presents five clinical case studies highlighting the benefits of these innovative techniques. |
|
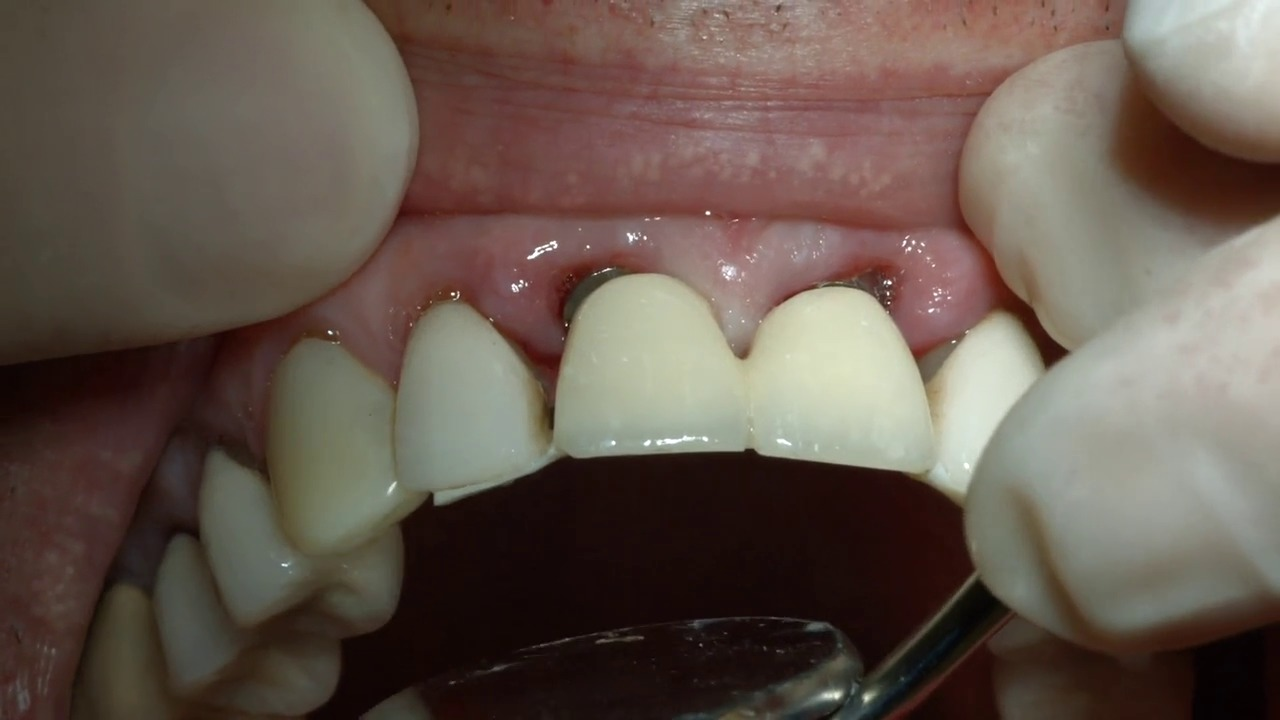
Bicon Immediate Loading Technique Using a TRINIA™ Stabilizing Prosthesis
In this video, Dr. Laura Murcko discusses a technique for immediately loading Bicon implants using a TRINIA™ stabilizing prosthesis with Bicon Universal Abutments and Temporization Sleeves. |

|
Immediate Placement of Bicon Implants in Molar Extraction Sites
In this video, Dr. Drauseo Speratti discusses techniques to place a Bicon implant in a molar extraction sites. |
|
Digital Dentistry: Bicon Universal Abutments and Scan Posts
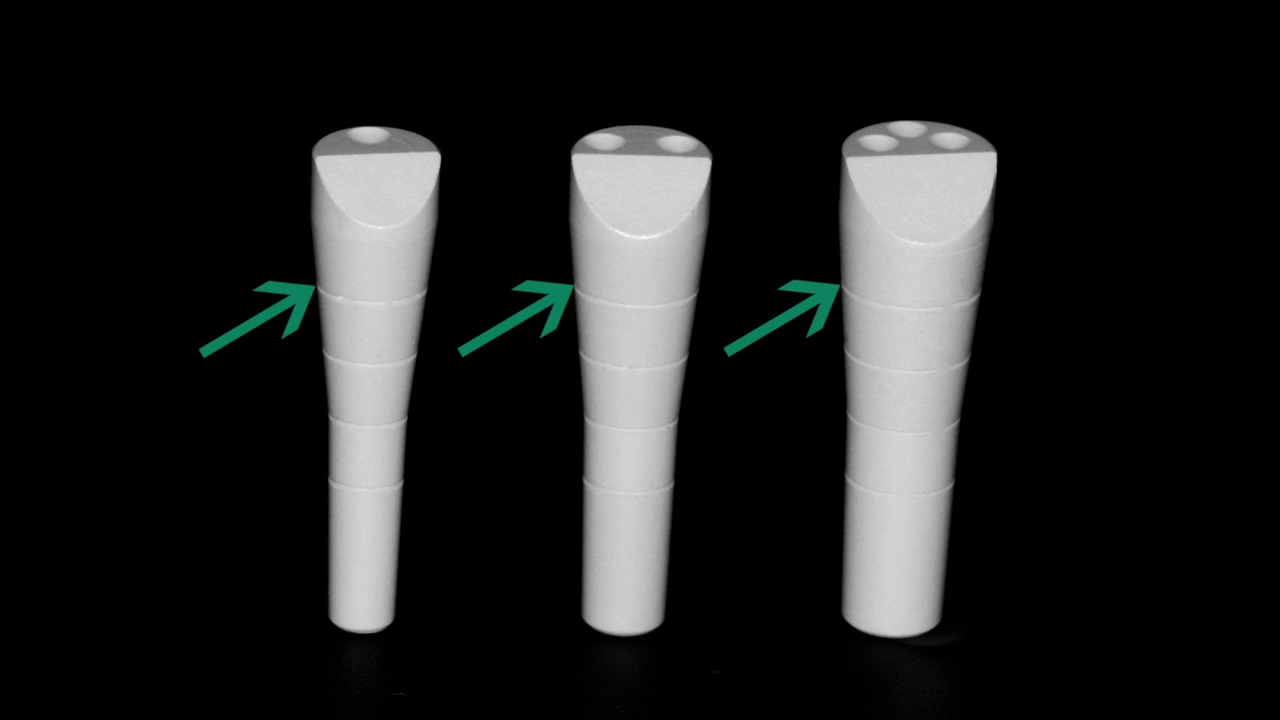
This video introduces Bicon’s Universal Abutments and Scan Posts as two enhancements to facilitate digital dentistry techniques. It also demonstrates the practical use of the Scan Posts in a clinical case study. |

|
Abutment Removal Techniques
In this video, Dr. Drauseo Speratti discusses the proper techniques to remove a seated abutment. He covers both the Tapping Method and the Twist & Pull Method, as well as the reason for having two different methods. |
|
Sulcus Reaming Technique
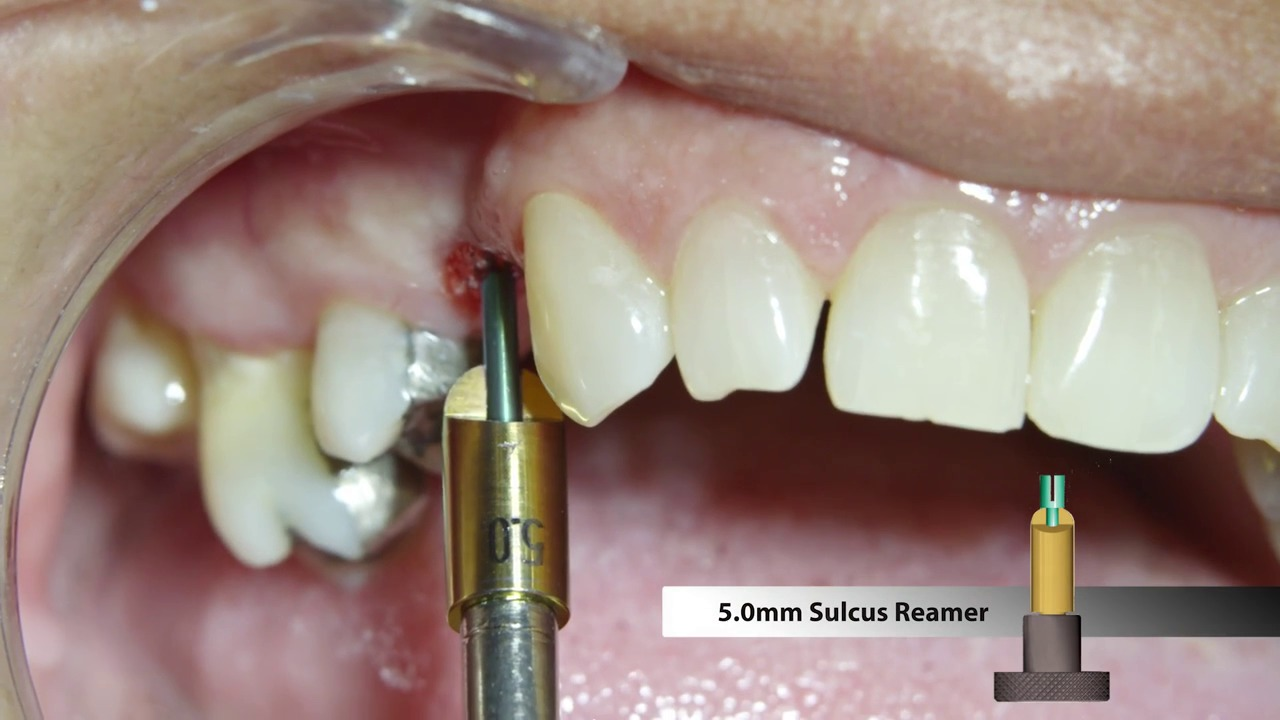
The color-coded sulcus reamers are essential components of Bicon’s instrumentation. This video will demonstrate the sulcus reaming technique being used to successfully seat a maxillary bicuspid Integrated Abutment Crown™ into the well of a Bicon SHORT™ Implant. |
|
Implant Level Impression and Bite Registration
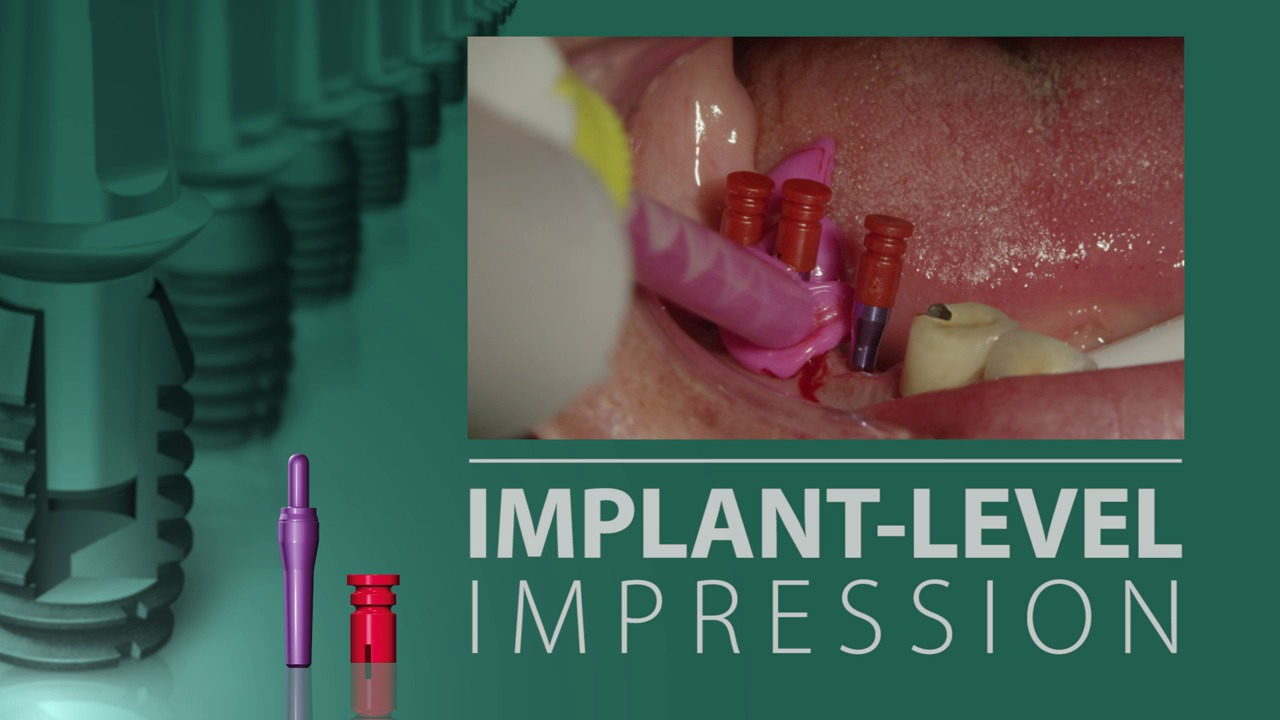
A clinical and how-to example of the appropriate method of making an implant level impression and bite registration. |